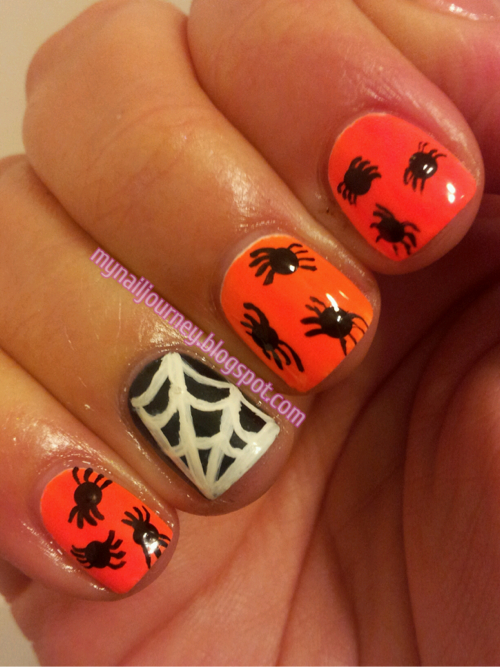
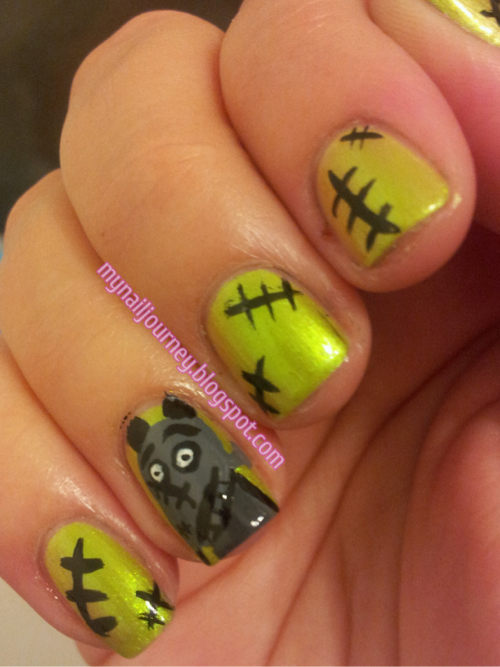
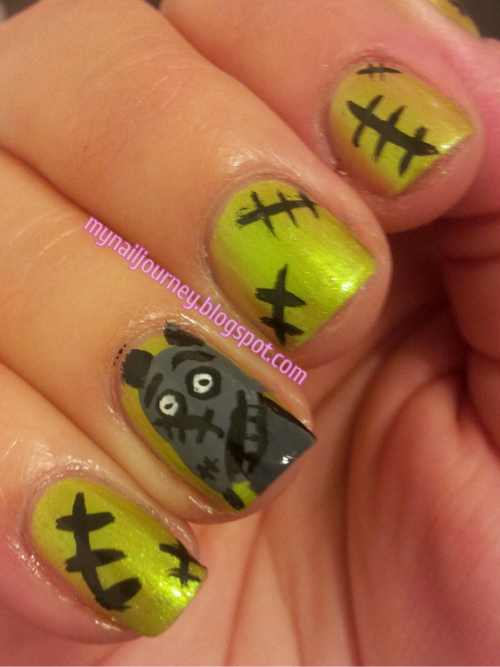
HAPPY HALLOWEEN!!! So, I am not going out with my friends' to take their children trick-or-treating, but we are going over there for dinner. I tried to take a nap before doing this, but couldn't fall asleep and I wanted to make sure this got posted today. I would hate to have worked all month long on this challenge and be removed from the list of participants for not finishing in time. :-) Today's mani is inspired from the lovely Sarah over at Chalkboard Nails. This is one of my favorite blogs and if you have no idea why, just go, go check her out, you will not be disappointed. We are not allowed to dress up for work so I knew this would be perfect for the challenge and my "costume." I really need to get better at doing straight lines. :-(


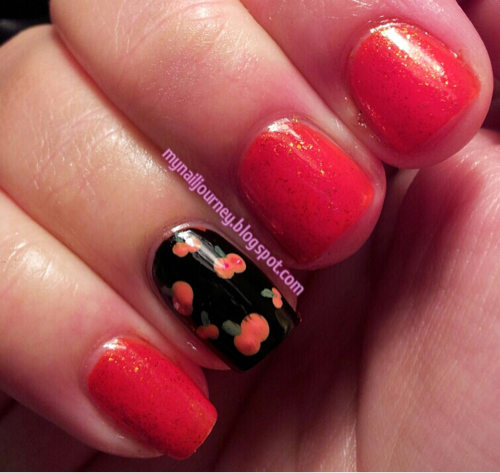
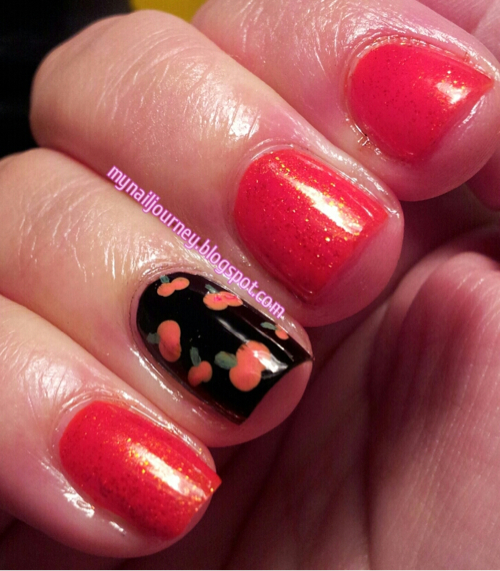
Base coat: Sally Hansen Triple Strong Advanced Gel Nail Fortifier
Base color: Superstar from Pure Ice - 2 coats
Ruby Slipper from Avon - 2 coats
Top coat: Sally Hansen Insta-Dri Anti-Chip Top Coat
Stripes: Cobalt Blue from Artist's Loft acrylic paint
Dots: Ultramarine Blue from Artist's Loft acrylic paint
All photos were taken inside without flash
Here is a list of all the manicures that we did for the challenge.
Tes Did It Nails
Sassy Paints
Nicole gets Nailed
Wicked Tips
Fancy Schmancy Nails
Delight In Nails
Polish Groupie
My Nail Journey
Get Polished Up!
Just A Girl and Her Polish
Spellbound Nails
Le nail's corner d'Alex
Hello.Lacquer
Color the world with polish
Cutie Cuticles (nail art by Laraib)
Wacky Laki
Nail-Aween Nail Art Challenge October 1-31st, 2012
GLAMOROUS NAILS
Over The Topcoat
Polish Gone Crazy
tragedystipsandtreats
Susy In Color
Countess Nails
(List includes blogs and FB pages)