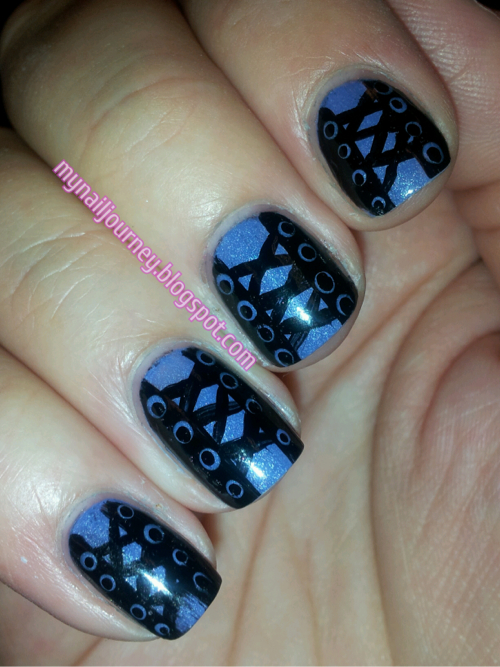
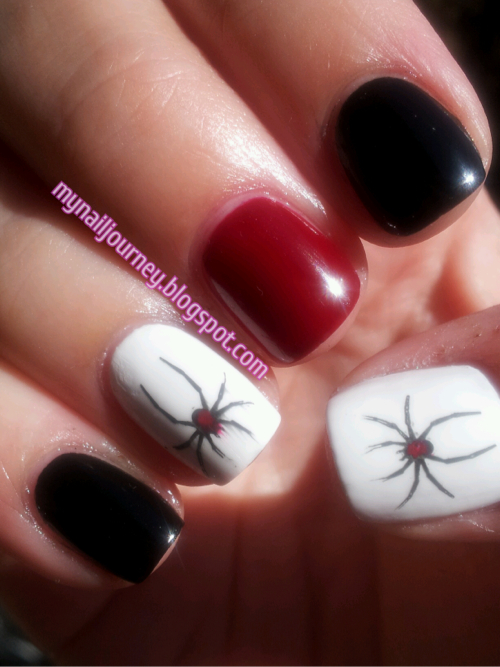
Today's challenge in the Facebook group, Adventures In Stamping, was for us to use a french tip image. I have a hard time using the french tip images because a, they are really hard to place straight, and b, my nails are so short that they take up half of my nail. I decided to use the star image on the Mash 29 plate because I hadn't used it before and it was a smaller tip design in the fact that it wouldn't take up half of my nail. I am pretty pleased with the turn out of this mani. I only had to redo two of the images due to crooked placement.
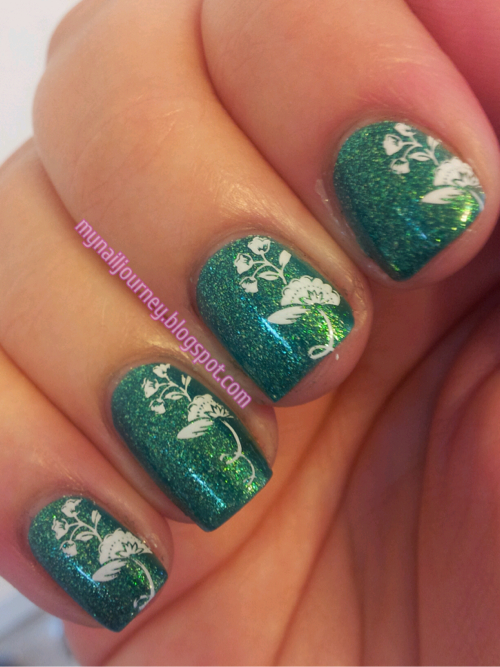
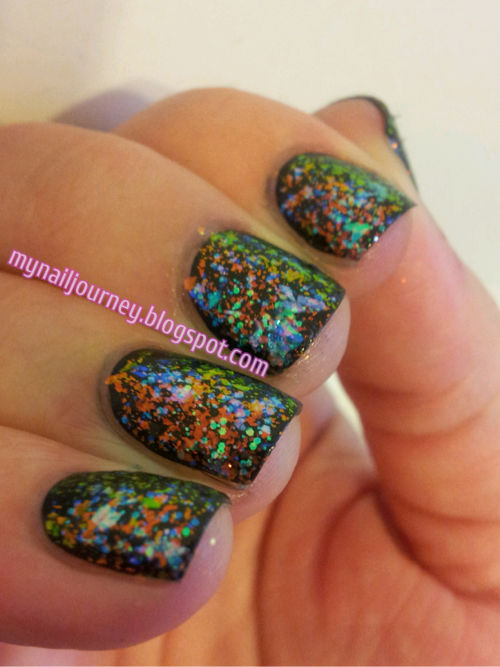
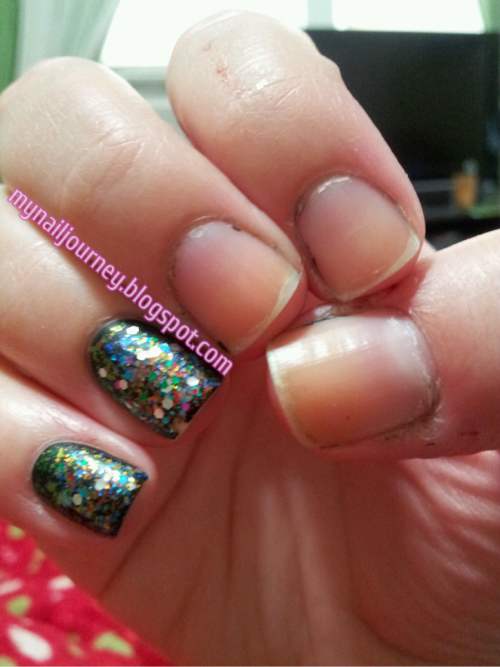
This was taken inside under fluorescent lighting without the flash

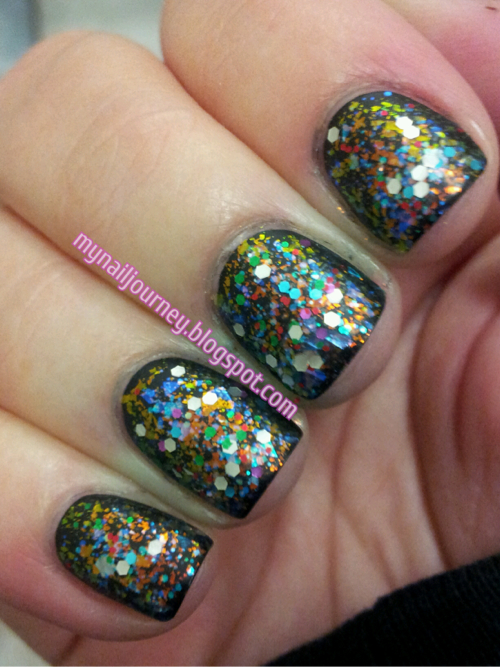
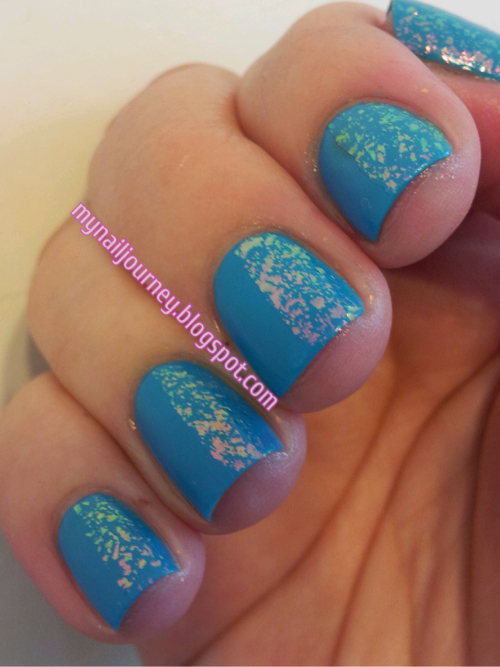
Taken inside without flash

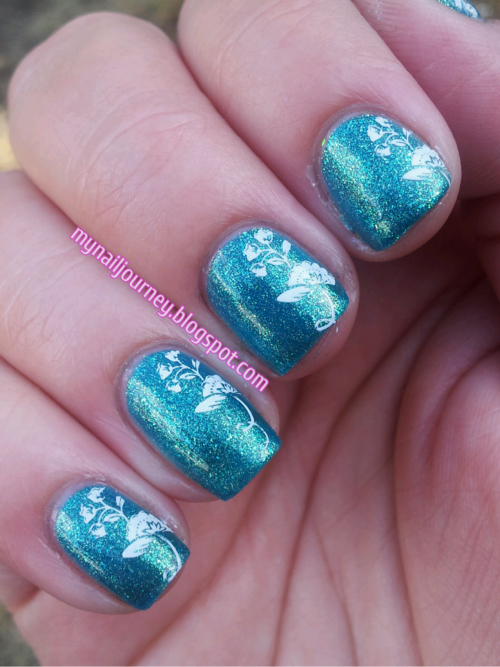
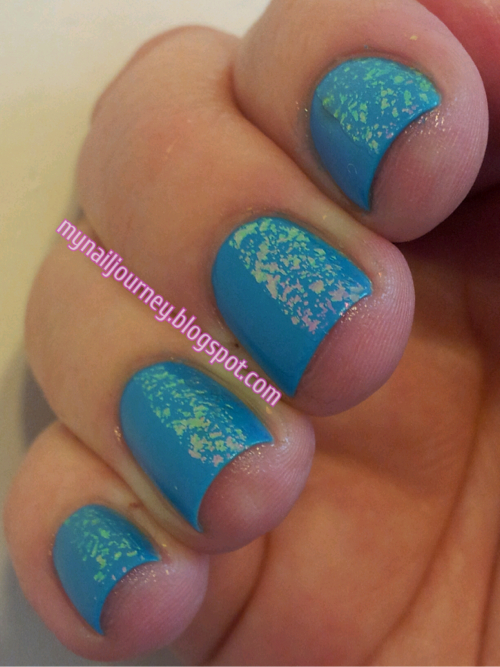
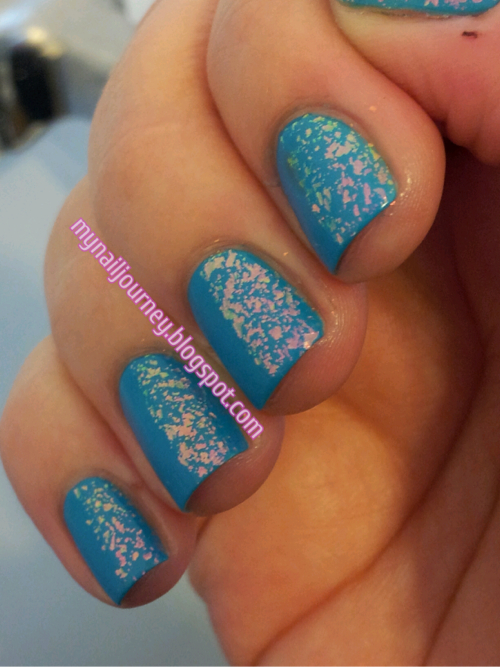
Taken outside in indirect light

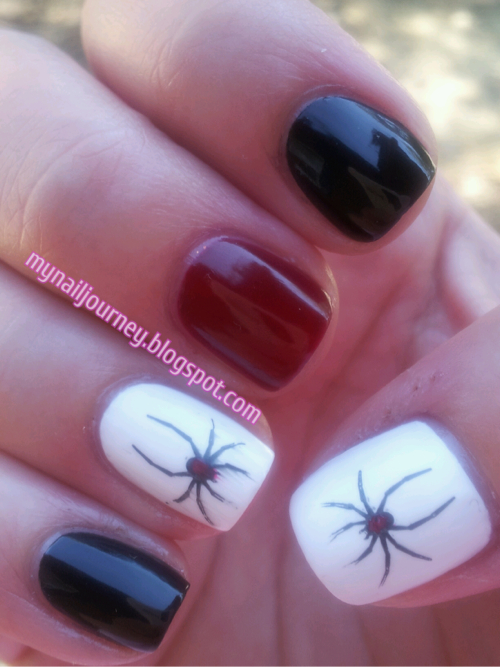
The base color for this mani is new to me. I received it from one of my friends and fell in love with it a few days ago when I wore it by its self. This color was released in the Katy Perry line from O.P.I. in January of 2011, before I became addicted to polish. I am surprised to say though that I almost have this entire collection. I just keep acquiring them through random journeys. I do have to say that this is my favorite color from the line so far. The One That Got Away is a BEAUTIFUL raspberry red with a glass fleck finish. Due to this it can look different in different lights. That is why I have so many pictures in this post today. I really want you guys to see how wonderful this color is.
Base coat: Sally Hansen Diamond Strength Hardener
Base color: The One That Got Away from O.P.I. - 2 coats
Stamping plate: Mash 29
Stamping color: Silver Sweep from Sally Hansen Insta-Dri
Top coat: Sally Hansen Insta-Dri Anti-Chip Top coat
Taken inside without flash

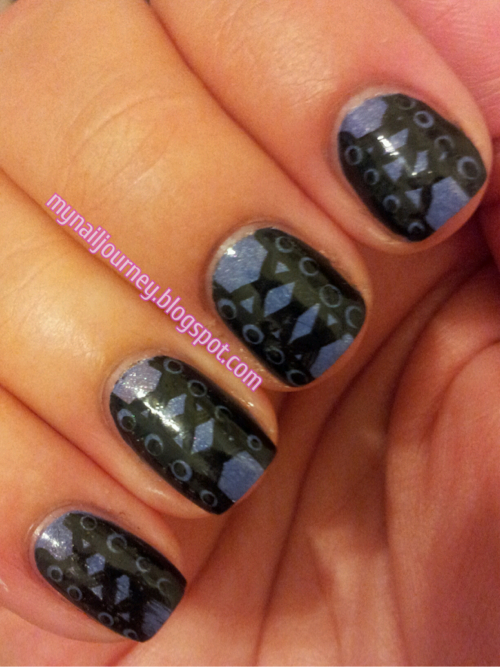
Taken outside in indirect light

Do you guys have problems when it comes to stamping on a tip image? How have you overcome this battle?