Monday, September 3, 2012

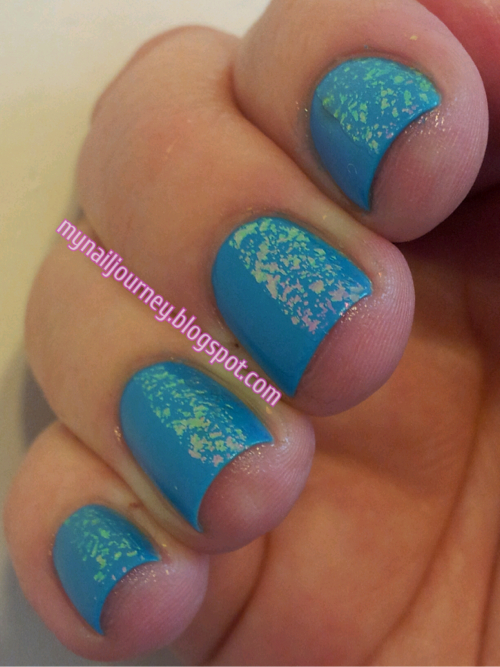
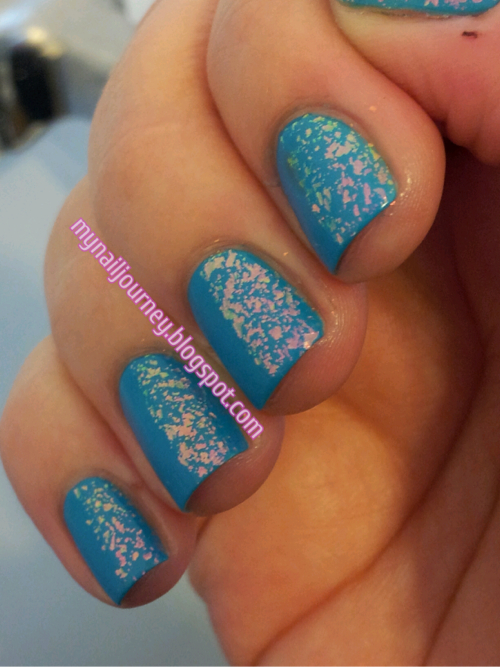
Blue Me Away! by Sally Hansen and Shine of the TImes Tape Mani

     It is time for another installment of Monkey See, Monkey Do.  If your new to my blog and have never heard of this, it is where a group of us, Crumpet's Nail Tarts, recreate mani's we see around the web, (usually from Pinterest or Facebook,) and post them on to our blogs.  I found the inspiration for today's mani on Victoria's Nails Blog.
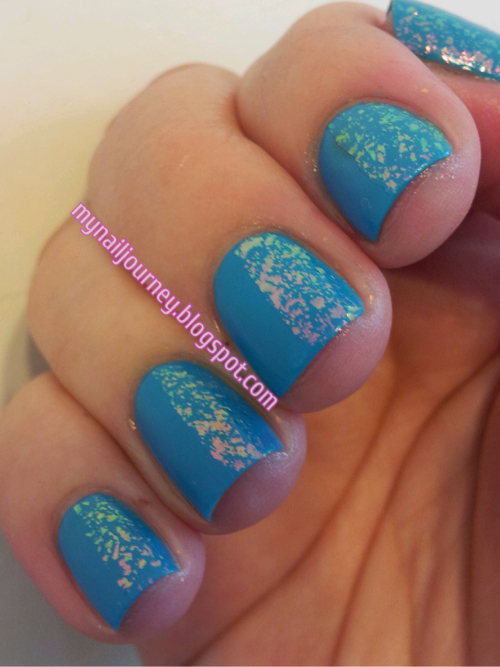
     I kinda did something stupid and used Blue Me  Away! from Sally Hansen, which has a glossy finish, instead of just opting to use Phoebe from Zoya, which is already a matte polish!  Ugh.  I didn't think about this until I had to redo my pointer finger for the THIRD time due to being impatient!  Oh well.  Live and learn, right.  When I applied Shine Of The Times, I used to tape to make sure I got straight lines. :-)  I love me some straight lines.


Base coat: Sally Hansen Diamond Strength Hardener

Base color: Blue Me Away! from Sally Hansen - 2 coats

Flakie: Shine Of The Times from Essie

Top coat: Nail Art Special Effect! Topper from Essence - I did not apply this over Shine Of The Times


All pictures were taken inside with out the flash


Can you tell that I didn't use tape on my pointer finger?  I pretty much gave up.  :-(  What do you guys think of this?  If you want to see some more Monkey See, Monkey Do mani's, check out these other blogs.


(Submissions close in 6d 7h 19m)
Link tool by inlinkz.com

Friday, August 31, 2012

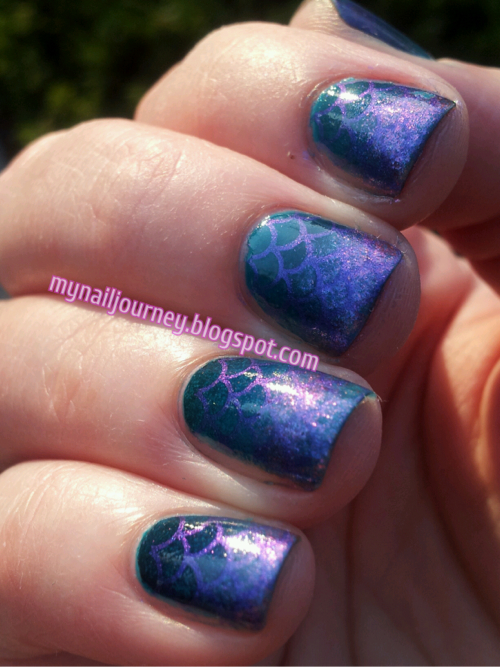
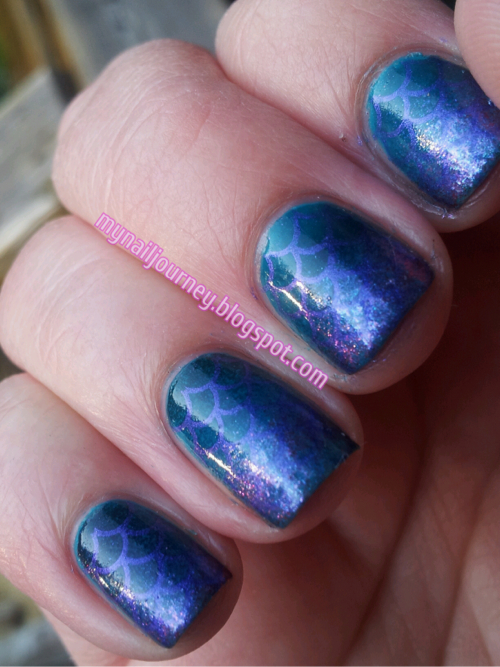
Mermaid Nails: Gradient Plus Stamping With Mash Plate 39

     In the Facebook group, Crumpet's Nail Tarts, our Summer Challenge for today was to do a mermaid mani.  I wasn't quite sure what I was going to do since there was no way in hell I would be able to draw an actual mermaid on my nails.  I googled mermaid nails and quickly figured out that I needed to do a gradient with a scale like stamp to mimic a mermaid's tail.  I am so pleased with how this came out.  I wish I could have captured all of it's beauty in the photos, but there was not very good sunlight out.  :-(  It turned out exactly how I wanted it.  Beautiful, sparkly, and just a hint of  scales.

Base coat: Sally Hansen Diamond Strength Hardener
Base color: Fly from OPI - 2 coats
Gradient colors: Fly-closest to my cuticle
                           Khloe Had A Little Lam-Lam from Nicole by OPI - in the center
                           Grape...Set...Match from OPI- at the tip of the nail
Stamping color: Let's Talk from Sinful Colors
Stamping plate: Mash 39
Top coat: Sally Hansen Insta-Dri Anti-Chip Top Coat


I hope that you like these as much as I do!


Tuesday, August 28, 2012

Flip Flop Mani

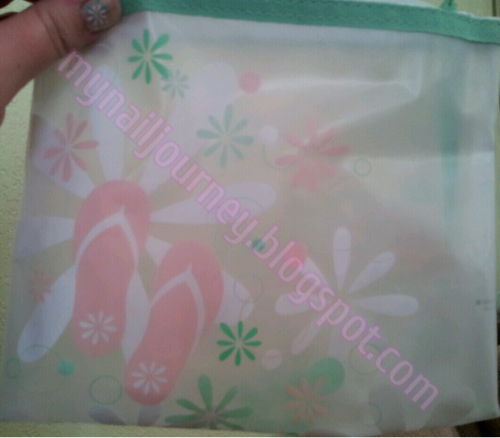
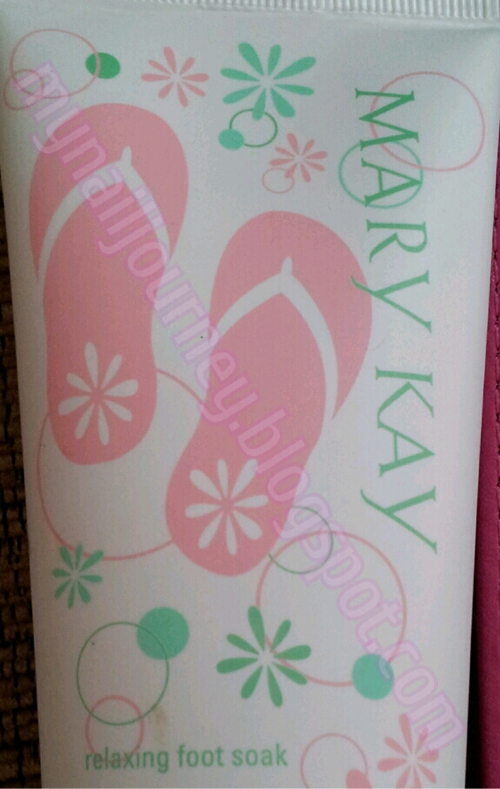
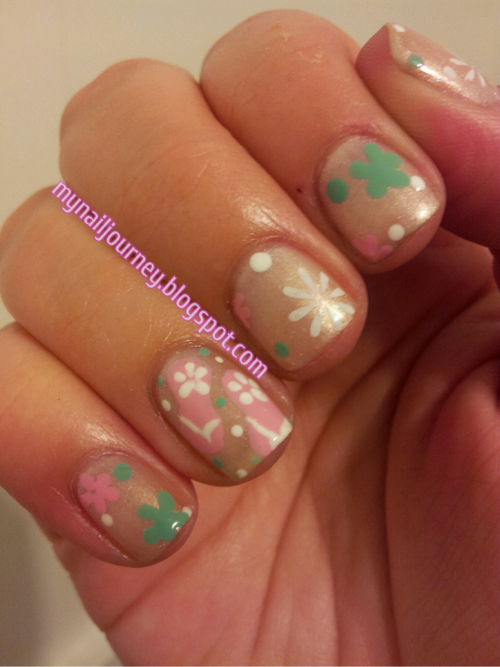
     Today's challenge mani topic was flip flops.  I was a little sad when I read this because I don't have the cute stamp that everyone has with the flip flops on it and I wasn't very inspired because I only have flip flops with a straight color, not a cute design on them.  I was just going to do a skittle mani with all of the colors of flip flops I own, but then I remembered how I wanted to paint the designs from my pedi bag onto my nails.  It was the perfect idea!

See, flip flops!  The bag is very sheer so here is a picture of one of the bottles of products that comes in this uber cute bag.


Base coat: Sally Hansen Diamond Strength Hardener
Base color: Glazed Pearl from SXY by Unforgettable Moments - 2 coats
Pink: Pink Friday from OPI
Green: I Need a Refresh-Mint from Wet N' Wild
White:
     Straps on flip flops: White from Kiss Brush On Nail Art Paint
     Flowers on flip flops and dots: French White Tip from NYC
     Stamped flowers: Stamp Me! White from Essence
Stamping plate: Mash plate 35

As I am sure you will be able to tell, the green and pink flowers were done by hand.  I used a dotting tool to do these and the random dots that are all over.  The white flower on my middle finger was the only one that was stamped on to my nail.

Taken inside without flash


So, what do you think of my recreation?


Monday, August 27, 2012

Tic-Tac-Toe Nail Art

     In the Facebook group Crumpet's Nail Tarts, formally know as the Purple Crumpet Fairy, on Mondays we do Monkey See, Monkey Do manicures.  All this means is that we recreate our favorite mani's that we have seen on other blog's and show our interpretation of them on ours.  I like doing this because it showcases other's blogs and gets the word out about them.  Hopefully bringing in new readers to their blogs.
     I found this image on Pinterest and from what I can see Steff did this manicure.  I don't quite understand Reddit's layout or what it even is but, the Pinterest link took me to her page.  You can see her mani here.  I immediately knew I needed to do this mani.  Now, I got VERY sidetracked while doing this mani.  I wanted it to be perfect so I ended up redoing the pinky, which still smeared, and the thumb.  I spent WAY to much time on it, but I think it paid off.  It is so stinking cute.  I applied the hearts with different sized dotting tools and used a stiping brush for the Tic-Tac-Toe board and the x's on my thumb.

Base coat: Sally Hansen Diamond Strength Hardener
White: French White Tip from N.Y.C. - 3 coats
Black: Black Creme from Wet N' Wild - 2 coats
Pink: Strawberry from Avon
Black for the tic tac toe board: Black from Kiss Brush On Nail Art Paint


Both of these pictures were taken inside with out flash, in the same room.  Can anyone explain to me why my skin tone is so different in each of these pictures?


Sorry for my crusty cuticle on my thumb.  I try to hide my thumbs as much as possible but I had to show it for this post.  I really hope that you guys like this.  

If you would like to see some more MSMD manis please feel free to check out these other blogs!


Debbie at The Crumpet - http://thecrumpet.blogspot.co.uk
Missy @ Gnarly Gnails - http://gnarlygnails.blogspot.com
Nayade at Toxic Vanity - http://www.toxicvanity.com
Alyssa at Fancy Phalanges - http://fancyphalanges.blogspot.com/
Misha @ Enigmatic Rambles: www.enigmatic-rambles.blogspot.com
Carrie @ LeSamowen:Life, Love, and Nail Polish: http://lesamowen.blogspot.com/
Basia (or Bazzia) @ polish my mind: http://polishmymind.blogspot.com/
Isabel - Little Fairy: http://isaspinods.blogspot.com/
Stella - My Wet Nails: http://mywetnails.blogspot.com
Michelle-Lacquer Or Leave Her!: http://lacquerorleaveher.blogspot.com
Angi @ Angelina´s Nails & More www.angelinaswelt.blogspot.de/
Kia @ Lacquered Libra  http://lacqueredlibra.blogspot.com/


Sunday, August 26, 2012

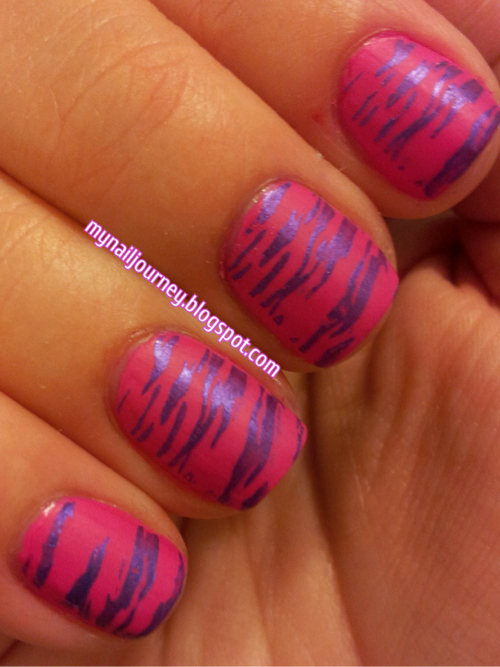
Zoya Lolly and Stamping With Sinful Colors Let's Talk and Mash Plate 38

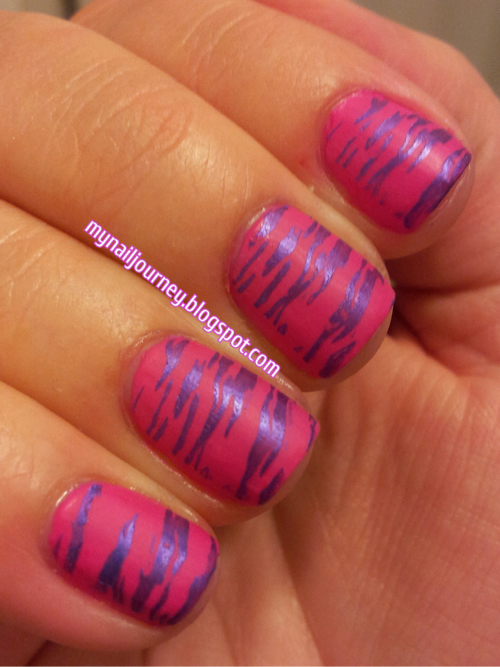
     Today's challenge in the Facebook group Adventures In Stamping was pulsating pink and purple.  I figured it would be a really good time to try out my camo stamp that i have been dying to try since I got it.  I love camo.  My sister makes fun of me and tells me she doesn't understand who snuck in to my bedroom in the middle of the night and raised me because I love everything country/western, penguins, and nails.  Odd mix of things lol.
     I was irritated how this ended up looking more like zebra print though.  I think next time I will try mixing the stamping with white and purple so that it creates more of a girly camo look.
     I decided to us Zoya Lolly for the base color, a bright pink with a matte finish.  The formula on this was funky!  I ended up doing three coats to even it out.  I then applied my Essence Nail Art Special Effect! Topper, waited for it to dry and then did the stamping.

Base coat: Sally Hansen Diamond Strength Hardener
Base color: Lolly from Zoya - 3 coats
Top coat: Essence Nail Art Special Effect! Topper
Stamping color: Let's Talk from Sinful Colors
Stamping plate: Mash 38


All these pictures were taken inside without the flash